Showing posts with label Valentine's Day. Show all posts

Tuesday, February 8, 2011

Bedroom Makeover!

My hubby and I will celebrate 24 years of marriage on Monday, Feb. 14th!  Yes, we were married on Valentine's Day!  Traditionally, we go away for a couple of nights, but this year, we decided to re-do our bedroom!  Here is what it has looked like, more or less, for approx. 7 years:
 
Yes, that is a hutch in my...bedroom...thought it was a good idea at the time!  And a tennis ball?

 Notice the icky green walls?  So dark, and it's been like this for about 7 years!  Our bedroom is fairly large, with pretty good lighting.  However, this was a color that got very old, very fast!

Most of the re-do has been done on a next-to-nothing budget!  It's been fun to see what I could find to make our little 'love nest' just exactly what we wanted!  I began painting this past Saturday, and I just finished this afternoon (Monday)!

We moved the bed to the wall opposite of where it had been.

See our pretty kitty?  That's Romeo...he thinks he's King of the Bed!


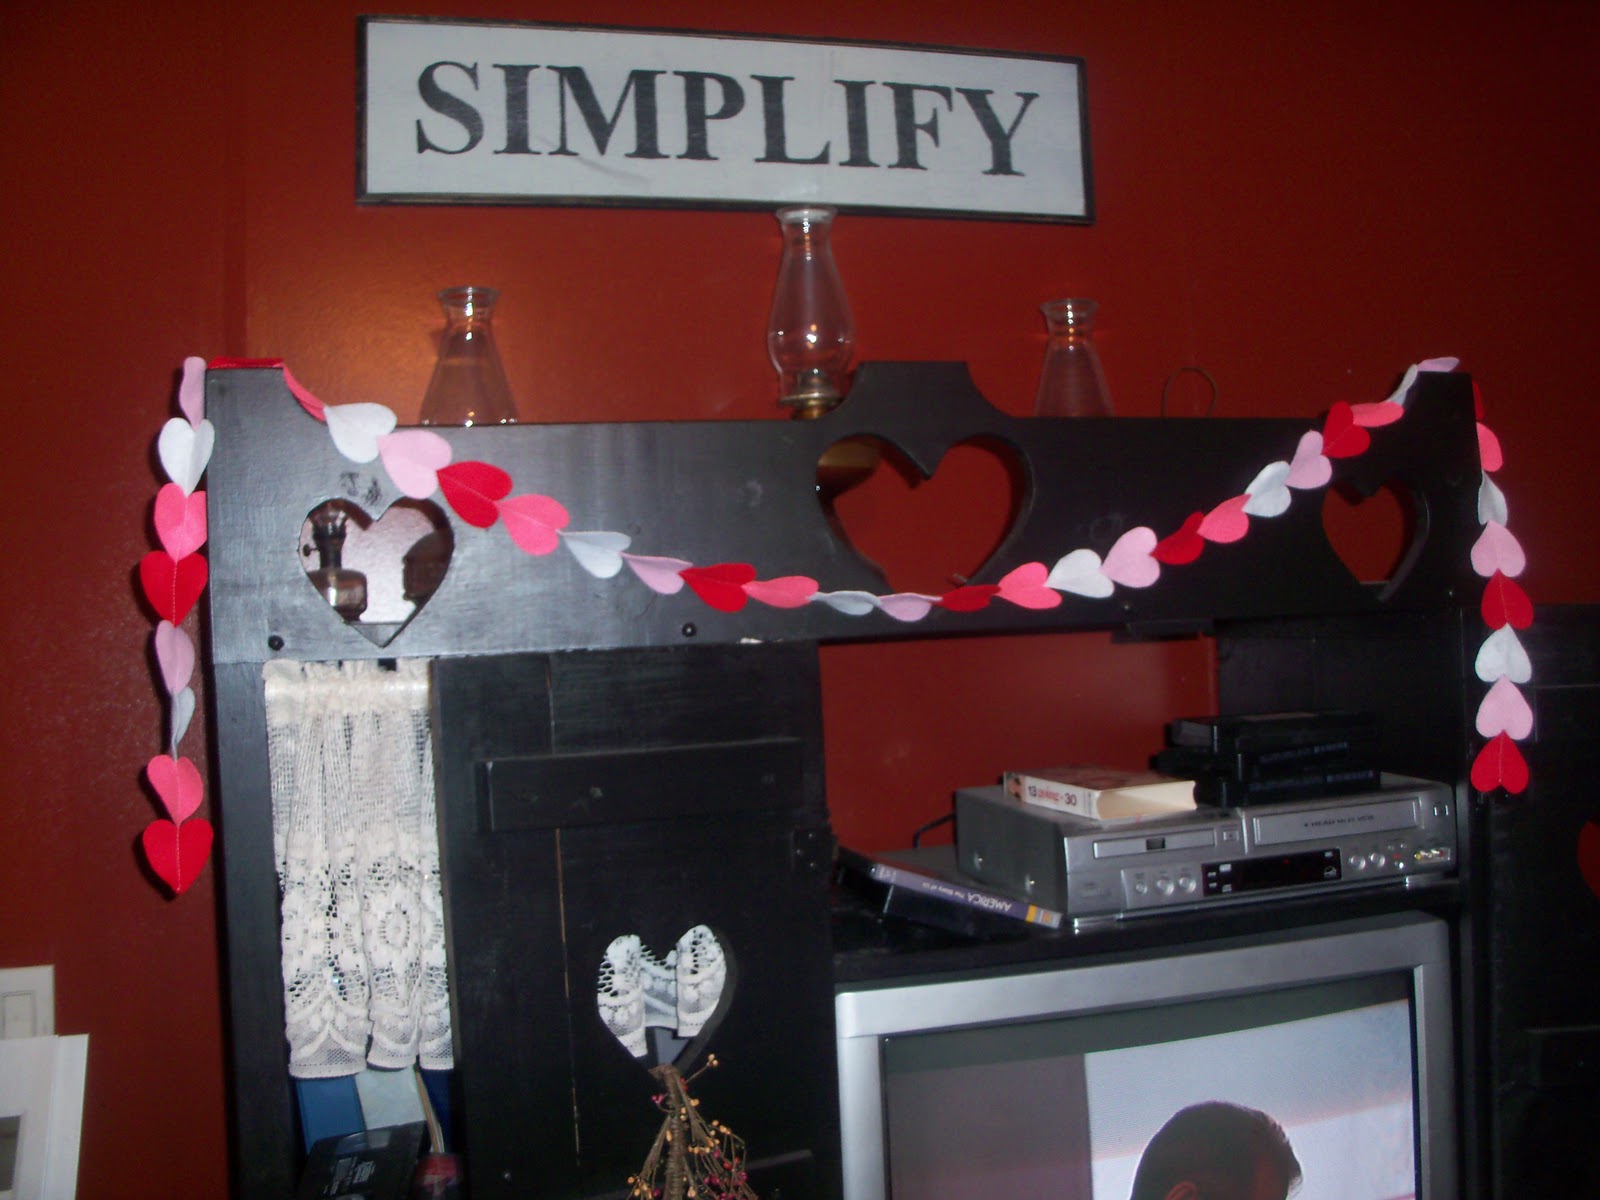
We found this comforter set (which was like brand new!) at one of our local Thrift Stores!  It is hard to see the design in this picture, but we HEART it so much!  It came with the skirting, 2 plain (gold) pillow shams and 2 other coordinating pillow shams.  I'm not ready to put the pillow shams on, yet...waiting until we get NEW pillows!

We moved my bookcase to the wall just inside our door.  I don't like it there, but it's going to have to do for now.


I really HEART this saying! 


Don't you just LOVE this?

This is where the bed had been.  (pic taken from the doorway)  The dresser on the right is one my dad had that belonged to his aunt.

The dresser on the left is in baaaddd shape...I had great plans for it!  Right now, it's holding games that were in that green hutch!  Oh, yeah...notice it's not in our bedroom???


These are Fenton pieces that finally have a home!  I think they really show up nicely on this old dresser.

Two of these old books belonged to my mother, and the other 2 belonged to my hubby's grandfather.  The blue lamp will eventually get a make-over.

Here's the icky dresser...I don't know if I should paint it, refinish it, or what...let me know if you have an idea!  There are no hardware on it right now, so we have to leave the drawers open a bit!!! 

I bought this pillow for .50 at the Thrift store...yeah, it's one of my favorite stores.  I had an idea I saw on another blog...when I find it, I'll add it.

 I used the patterns on the blog (again...I'll post it when I find it) and dark brown felt.
  
I hot-glued them together, then to the pillow.  I added a vintage button to it and...I now have a beautiful throw pillow to add to our bed!  Here's the picture again of it on our bed:

I just have to show you my room again!


So, what do you think?  There are still other decor items I haven't added, because I'm lovin' the uncluttered look that I have created!  That's a look that I don't see often in my home!  I'll post more pics if I do anything else!

Thanks for checking our new 'love nest'...I can't wait to get the rest of the house looking this great!

Organizing bit-by-bit!

Shari

Thursday, February 3, 2011

Dry Erase Menu Board

I saw this on Little Birdie Secrets http://littlebirdiesecrets.blogspot.com/2010/09/weekly-wipe-off-menu-board-magnets.html  I knew I had to make one!

So...I went Thrift store shopping to find a cheap frame that I could paint and re-make.  Here's what I found:

Just so you know, I don't know anyone named "Holly"!  I took the frame apart and began painting it black.
While the paint was drying, I found a piece of scrapbook paper that I hadn't used yet and cut it down to size, adding a piece of rick-rack for a bit of decor.
Here it is!  I do wish I had a Silhouette to make my wording, though!  For now, though, I will use a dry erase marker to write down our weekly meals.  I think this will be very valuable in saving us time and money.  Each morning, it will just take a glance to see what will be for supper.  Easy!


I added the Valentine's Day heart...now, I can change it out for different holidays! 

Just another way to help me as I...
Organizine bit-by-bit!

Shari

Wednesday, February 2, 2011

February Challenge--Praising my husband!


The 3rd week of this challenge given by Courtney over at womenlivingwell.org   began yesterday.  I am a little behind, as I've been focusing on 'other things'...but with Valentine's Day coming in 2 weeks, I have been giving more thought to the attention I give my husband.

I guess this is one reason I'm taking a small sabitical from major de-cluttering and organizing to make some simple Valentine's Day decorations. 

BECAUSE...my hubby and I celebrate our 24th Anniversary on...wait for it...Feb. 14th!  Notice that I was making some of our ONLY Valentine's Day decorations?  Sad, isn't it...and it's supposed to be our 'special' day.

I am so thankful for groups like Women Living Well, Good Morning Girls, and other blogs and sites I've found that are reminding us women to Love our Husbands, focus on them, Praise them, etc.! 

Here I am with my hubby, Joel.
We have been married 24 years on Feb. 14th.  He is 10 years older than I am, and we've known each other since I was 10 years old!!!  Joel has MS and lung cancer, but God is so good!  Up until about 3 years ago, he worked 60 hours a week!  But, he had to quit when the MS became so bad that he couldn't physically work anymore.  He loves God with all his heart and he is a great prayer warrior!

We have 2 wonderful children, Jordan and Kayli.  We were unable to conceive for 7 years and did foster care for 4 1/2 of those years.  We homeschool our children and are striving to train them to be a Godly young man and young lady.

I am joining the challenge, even though I'm late, because I believe it's never too late to begin! 

What does this have to do with Organizing bit-by-bit?  This is all in order, because God has ordered it himself...and I want to be in order with His plan!

I love you, Joel!

Shari 


Tuesday, February 1, 2011

Heart Garland...Easy!

I finished another Valentine's Day project!  I found this on another blog   
made-by-rae.com and she's right...it is so easy! 

First, you pick the colors of felt (your basic craft felt), make a small heart pattern, trace and cut out the hearts.  I was able to get 16-18 hearts out of 1 piece of felt, depending on how I laid them out.


Then stitch them together!  Made-by-Rae suggested starting at the 'cup' part of the heart.  When reaching the point, have another one ready and continue until you're done! 
I made 2 different lengths so I could use them in 2 places. 
Here is where I used them:

Remember the picture frame I made?  I draped the garland over the top of the shelf below it.  I think it goes well with the picture.

This is the entertainment center in our Family Room.  My husband made it many years ago for his mother.  She couldn't use it anymore, so she gave it to us and I painted it black.  I think the garland looks great on it!  Oh, and the "Simplify" sign?  It is the passion I have for my home!  Bit-by-bit!

So, do you like it?  Let me know what you think and if you have any easy, fun decorating ideas you'd like to share!